Pelajari cara menggunakan beberapa layar dengan Mac, dengan pencerminan video atau desktop yang diperluas.
Pencerminan video
Pencerminan menampilkan gambar yang sama di setiap layar.
- Pastikan layar tambahan disambungkan dengan benar dan dinyalakan.
- Dari menu Apple () , pilih System Preferences (Preferensi Sistem).
- Dari menu View (Lihat), pilih Displays (Layar).
- Klik tab Arrangement (Pengaturan).
- Aktifkan (pilih) “Mirror Displays” (Layar Cermin) di pojok kiri bawah.
Pada contoh di bawah. kotak berwarna biru menunjukkan setiap layar yang tersambung. Bar berwarna putih di bagian atas kedua kotak menunjukkan bar menu dan ditampilkan di kedua layar saat menampilkan informasi yang sama.
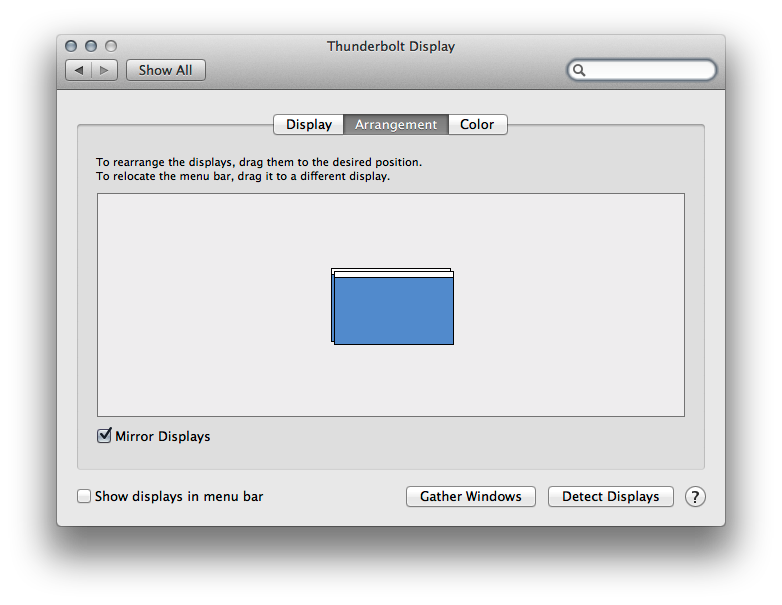
Saat pencerminan, Mac mencoba menyesuaikan resolusi terdekat antara layar utama (atau internal) dengan layar kedua.
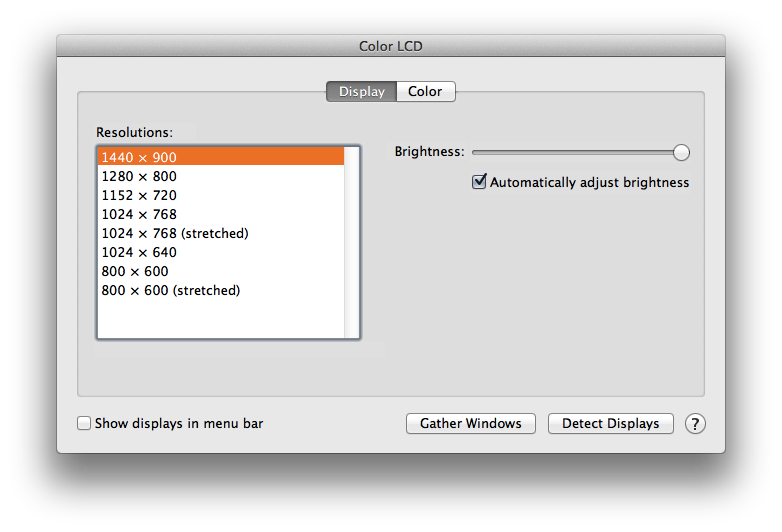
Resolusi yang dapat digunakan adalah resolusi yang paling sesuai untuk layar utama dan kedua. Jika Anda memilih resolusi yang tidak didukung di kedua layar, OS X akan kembali lagi menggunakan resolusi yang paling sesuai.
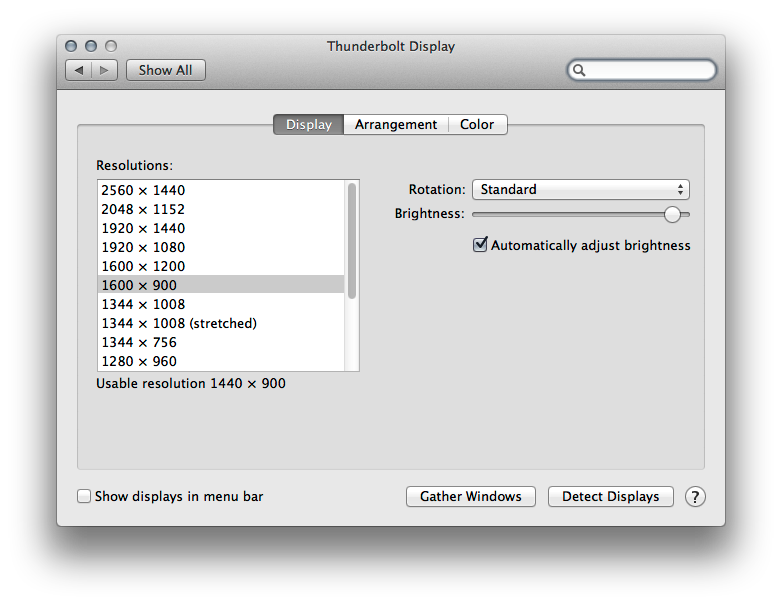
Desktop yang diperluas
Dengan desktop yang diperluas, layar akan diperlakukan sebagai satu desktop yang berkelanjutan.
- Pastikan setiap layar disambungkan dengan benar dan dinyalakan.
- Dari menu Apple (), pilih System Preferences (Preferensi Sistem).
- Dari menu View (Lihat), pilih Displays (Layar).
- Klik tab Arrangement (Pengaturan).
- Nonaktifkan (batalkan pilihan) “Mirror Displays” (Layar Cermin).
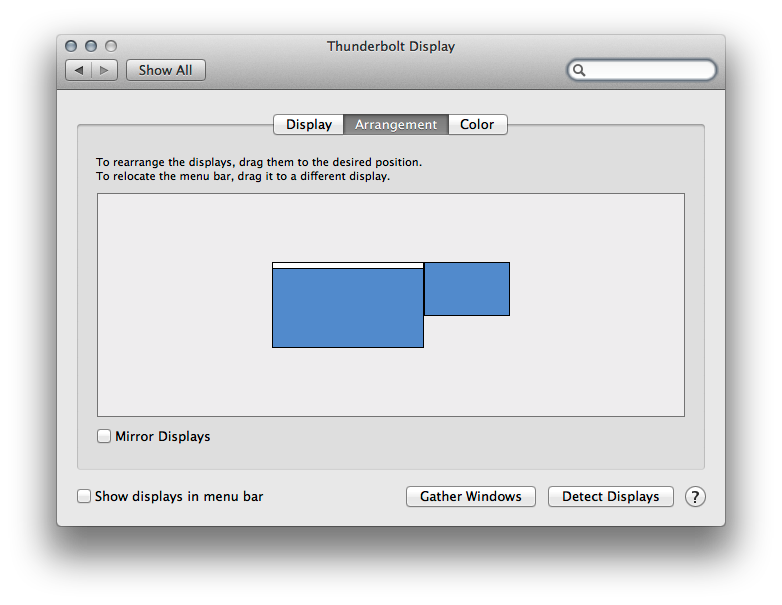
Di panel Displays (Layar) di System Preferences (Preferensi Sistem), setiap kotak berwarna biru menunjukkan layar yang saat ini tersambung. Ukuran setiap kotak relatif terhadap resolusi saat ini dari layar yang ditunjukkannya. Pada contoh gambar di bawah, kotak lebih besar di sebelah kiri menunjukkan Thunderbolt Display Apple ukuran 27 inci, sementara yang lebih kecil di sebelah kanan adalah layar internal dari MacBook Air (LCD Berwarna) ukuran 13 inci.
Bar berwarna putih di bagian atas kiri, kotak berwarna biru menunjukkan bar menu yang Anda lihat di bagian atas layar. Penempatan bar menu menentukan layar mana yang ditentukan sebagai layar utama di OS X. Untuk mengubah layar utama, klik dan seret bar berwarna putih dari satu kotak berwarna biru ke kotak lain.
Anda juga dapat menyeret kotak berwarna biru mana pun untuk mengubah lokasi yang ditunjukkan layar. Gunakan fitur ini untuk memastikan layar yang tersambung sesuai dengan lokasi dunia yang sebenarnya saat menavigasi desktop.
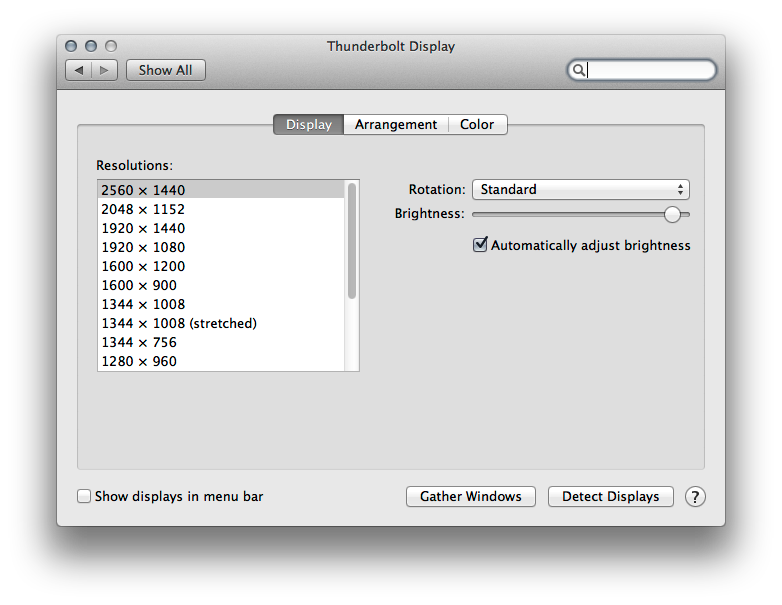
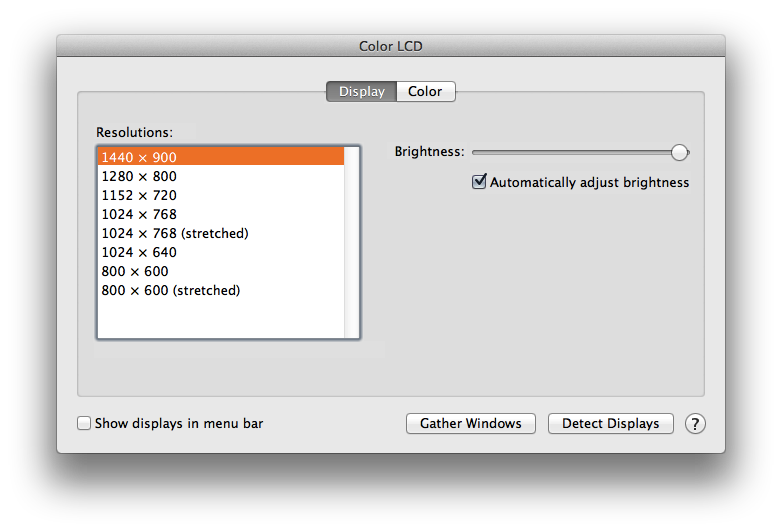
Seperti pada gambar di bawah, setiap layar mempertahankan pengaturan resolusi maksimumnya karena dioperasikan sebagai layar tersendiri yang menampilkan desktop berkelanjutan.
Layar tertutup
Untuk instruksi mengenai cara menggunakan notebook Mac dengan layar tertutup dan layar eksternal yang terpasang pada waktu bersamaan, baca Notebook Mac: Cara menggunakan komputer Anda dalam

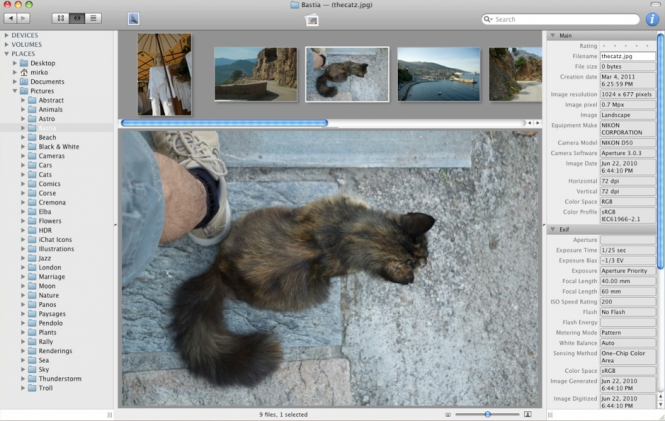
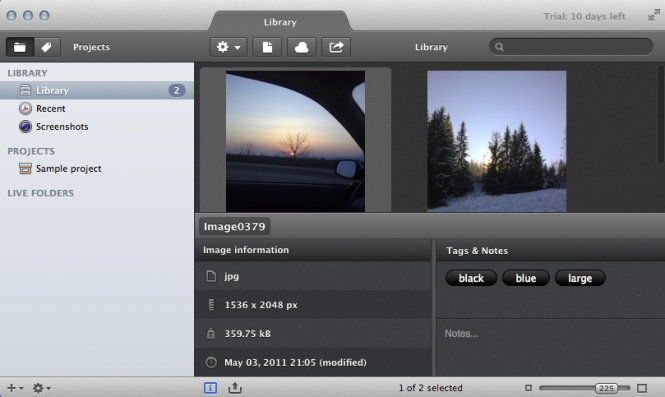
 Organizing your pictures can be a big problem no matter what operating system you use. Especially if you usually take a lot of photos with your phone or camera, then copy them to a PC and don’t immediately spend some time to organize them, you will end up with a huge pile of files with names that don’t actually represent anything. This means that whenever you want to show someone some specific pictures you will have a really hard time finding them. The good news is that there are a lot of tools capable of helping you sort the images saved on your storage devices. In case if you’re not a big fan of the Mac default iPhoto app, here is a list with some of the best image organizers and managers for OS X.
