Dasbor and Widget A Mac

Widgets are small mini-applications designed to perform tasks that we otherwise perform by visiting web pages. For instance, instead of opening Safari and going to a weather website, you can access the weather-widget with a single click of your mouse.

Widgets

Widgets are not viewed the same way as regular applications. Instead, they are shown in Dashboard. When opening Dashboard, your screen fades a bit and the widgets zoom in across the screen.
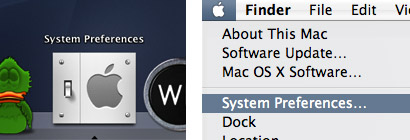
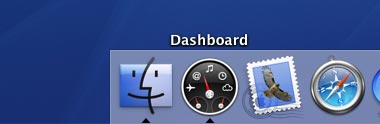
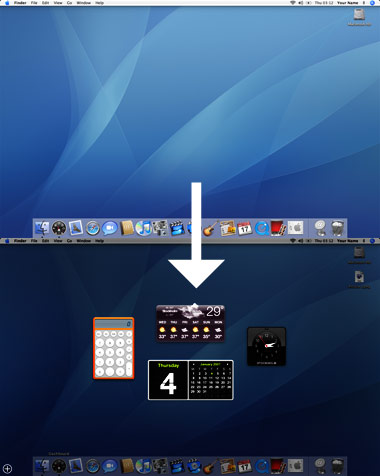
Open Dashboard

In order to open Dashboard, just click it’s icon in the dock.

Click the Dashboard icon in the dock

When you do so, Dashboard and the widgets will appear.

Dashboard opens

The widgets

What they are

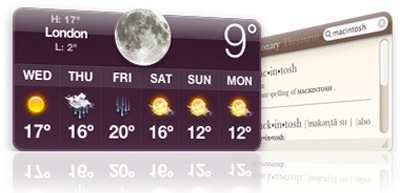
Widgets are small applications used to perform smaller tasks or show data. Since they are programmed the same way as websites are it is easy for web developers to create widgets that display information from their websites.

Show/hide widgets

If you look at the lower left corner of Dashboard, you will see a plus button. If you click it, a bar containing all installed widgets will appear. From this bar, just drag the applications that you wish to use onto the Dashboard space.

If you wish to hide a widget, hold down the alt key and put the cursor over the widget. A button looking like a cross will appear in the widget’s upper left corner. Click it and the widget disappears. If you wish to use it again, just click the plus button in the lower left corner again.Continue reading

Creating a Guest login

I find it very convenient to have a guest account. Whenever I am working on something and a friend or family member wants to use my Mac, I just switch to the guest account so that they can’t accidentally close my applications, windows, documents etc.

1. Go to the “accounts” preferences pane

First, open System Preferences. It is probably in your Dock, otherwise you can find it by clicking the apple in the upper left corner of your screen and selecting “System Preferences” from the list.

Open System Preferences

When the System Preferences window appears, click the icon labeled “Accounts”.

Click the Accounts pane in System Preferences

You will now be able to see a list of the accounts on your Mac and some settings for each account.

2. Add a new account

Now, just click the plus button below the list of accounts (you may need to click the padlock below in order to be able to do this).

Click the plus button in order to add a new account

When the plus button is pressed, you will be asked to enter some information about this new account. For example, you could enter the following settings:

Example settings for a guest account

Since it is a guest account, you do not want the user to be able to administer the computer.

3. Change additional preferences

At this stage, you are pretty much done, but there are a few more things that you can change about this account.

Click on it in the accounts list so that you see the settings for the account. The most interesting thing that you can do is to set some parental controls.

Parental controls for a guest account

To add parental controls, check the box next to the thing you wish to limit. You can also click “Configure” if you wish to specify your limits.

Add parental controls for Finder and System

Personally, I have activated parental controls in Finder for my guest account. This allows me to limit the Finder so that the guest can surf the web and use some other applications, but nothing more.

4. Done!

Now you are all done! Just switch to the guest account and try it out. You can switch to it quickly by clicking your name in the upper right corner of your screen and selecting the guest account from the list that appears.

Switch to the guest user account

Continue reading