I find it very convenient to have a guest account. Whenever I am working on something and a friend or family member wants to use my Mac, I just switch to the guest account so that they can’t accidentally close my applications, windows, documents etc.
1. Go to the “accounts” preferences pane
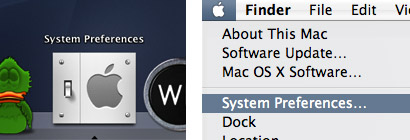
First, open System Preferences. It is probably in your Dock, otherwise you can find it by clicking the apple in the upper left corner of your screen and selecting “System Preferences” from the list.
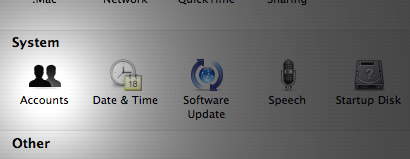
When the System Preferences window appears, click the icon labeled “Accounts”.
You will now be able to see a list of the accounts on your Mac and some settings for each account.
2. Add a new account
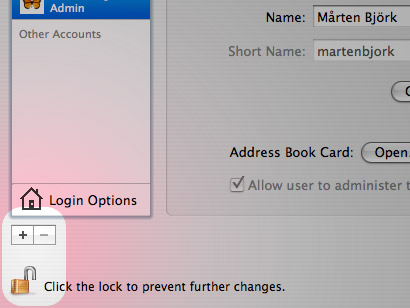
Now, just click the plus button below the list of accounts (you may need to click the padlock below in order to be able to do this).
When the plus button is pressed, you will be asked to enter some information about this new account. For example, you could enter the following settings:
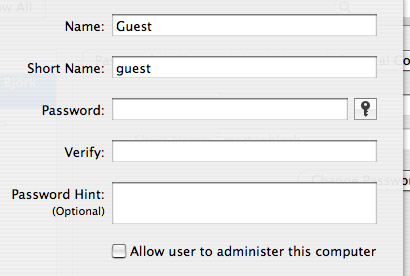
Since it is a guest account, you do not want the user to be able to administer the computer.
3. Change additional preferences
At this stage, you are pretty much done, but there are a few more things that you can change about this account.
Click on it in the accounts list so that you see the settings for the account. The most interesting thing that you can do is to set some parental controls.
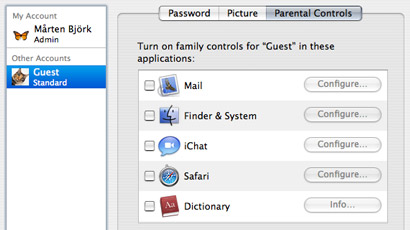
To add parental controls, check the box next to the thing you wish to limit. You can also click “Configure” if you wish to specify your limits.

Personally, I have activated parental controls in Finder for my guest account. This allows me to limit the Finder so that the guest can surf the web and use some other applications, but nothing more.
4. Done!
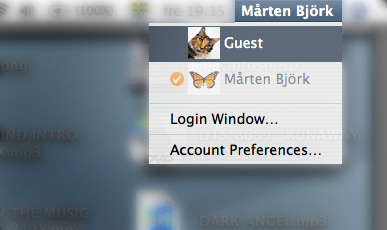
Now you are all done! Just switch to the guest account and try it out. You can switch to it quickly by clicking your name in the upper right corner of your screen and selecting the guest account from the list that appears.