how to Install Aplication in Mac OS

Installing applications on a Mac is simply wonderful! Mac OS X makes the installation process a piece of cake!

How you should install an application may vary depending on what solution the developer of the application finds most appropriate. We’ll guide you through them all.

Disc image+Application

It is very common that applications are put in a so called “disc image”. Sometimes you need to click a file (state 1) in order to extract the disc image, but the disc image often does this by itself (goesdirectly to state 2, that means).

The two states of a disc image

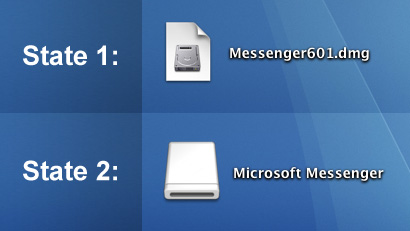
You just click it (the state 2 icon) and inside you will find your application.

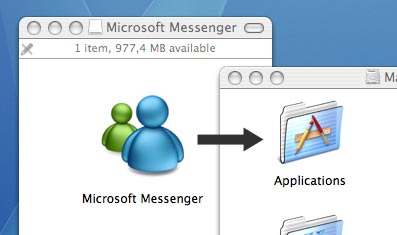
Expecting trouble? Don’t! All you have to do now is drag the downloaded application into your Applications folder and it will be copied (installed). Note that you don’t have to put it in the applications folder, but its is probably the most convenient place to put your applications.

Drag the application to the Applications folder

When the copying process is done, you can throw the disc image file away (there may be two files – see above) by dragging it to the trash. Note that Mac OS X calls it “ejecting a disc image” and not “throwing a disc image away”. You will notice that the trash bin looks different when you drag the file, but don’t worry, just drop the file and it will disappear.

Continue reading

Browsing Through Files Part 1

This article will help you understand how to browse your files on a Mac. Don’t panic, it’s not very complicated.

Understanding it

Your hard drive contains millions of files. Both your personal files such as documents, photos or music files, but also system files that your Mac needs to operate properly.

If all these files were in the same place, it would be very hard for you to find your stuff, right? It would be one gigantic pile of files. That’s why we have folders. You can think of a folder as a box in which you can put your stuff.

You can even put folders inside other folders. For instance, you could create a folder called “vacation photos” and put it inside a “memories” folder. Neat and tidy, just the way we like it.

Get started

Let’s get started browsing through your files. First, click the “Macintosh HD” icon on your desktop. A new window will appear.

This is called a Finder window.

This is called a Finder window. The Finder window allows you to explore the contents of your hard drive.

The Finder window – how it works

It’s quite easy to understand how to use a finder window. We’ll now explain the most basic things about it.

Resize it!

Continue reading