 Hiding and viewing hidden files on Mac OS X isn’t as easy as doing it on other operating systems. That’s because there is no graphical command and most people don’t really want to dabble with the Terminal. However, if your need for privacy is bigger than your fear of command-line interfaces, here’s what you need to know in order to hide and view hidden files.
For larger applicability, I will show you how to hide (and view) entire folders, but every command will work exactly the same if you were trying to conceal just a single file. We will be using the terminal a lot for this exercise, and the quickest way to launch it is to press the Command and Space keys (simultaneously), then type Terminal and press Enter.
Hiding Folders
Once you get the hang of it, you will see that hiding folders isn’t actually all that difficult. The first thing that you need to do is open up the Terminal and type in chflags hidden (type a space after the command as well). Now simply drag and drop the folder you wish to hide into the Terminal window — this will add the full path after your command — press Enter and the folder will no longer be visible in the Finder window. Alternatively, you can manually type in the full path to the folder instead of dragging and dropping it, but that will take longer.
Viewing Hidden Folders
Even though there’s no graphical command, there are several ways to view and access hidden files and folders. The simplest thing to do is to press the Go button in your Finder window, then select the Go To Folder option and type the address of the hidden folder. (If it was on the desktop it would be like this: ~/Desktop/HiddenFolder). However, this only works if it is a folder that you created and you know exactly what it’s called/where to find it.
If you require a broader solution, you will need to use the Terminal once again. After you’ve opened it, all you have to do is to type this command: defaults write com.apple.finder AppleShowAllFiles TRUE. This will instruct the operating system to show you all the files and folders, including hidden ones. Now type killall Finder and press enter to restart the Finder and make sure that your changes have taken effect. (To reverse this change, type in defaults write com.apple.finder AppleShowAllFiles FALSE and killall Finder in the terminal.)
There is a third solution, and even though I don’t like it very much, I will share it with you. This only works from an open/save dialog. Once there, press Command+Shift+Period and then any folder that you see in your window (to activate the change), and every hidden file or folder in your present location will appear.
Unhiding Folders
If you want to make a folder that you have previously hidden visible again, you will once again need to launch the Terminal window. Now type chflags nohidden (again, don’t forget the space at the end of the command) and either drag and drop the respective folder into the window or type the path to that folder. Then press the Enter key and your files and folders will be visible to everyone who uses your Mac.
Alternative Solution
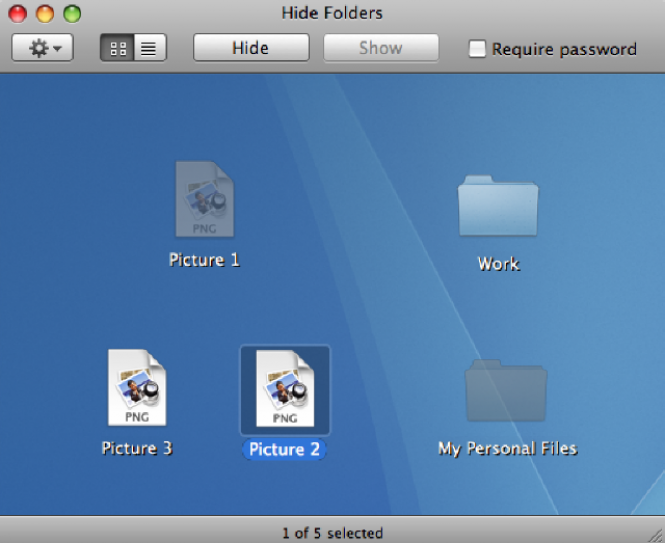
If you want to, you can also choose to install and use a specialized software to take care of this issue for you. Hide Folders is a simple, yet effective solution that won’t cost you a thing. Besides being able to hide your files, this application can also be protected with a password to ensure that nobody else can gain access to the documents that you’ve concealed. Unfortunately, despite its security feature, the tool can easily be bypassed with the Terminal command that makes all files visible, but if you need that level of protection, you should be looking for something more advanced, such as encryption software.
